WIP: Work in progress: I'm rebuilding the demo setup. I'm documenting while I'm rebuilding. Revisit this page by the end of March 2023 for a complete document
Use four boards 350mm x 250mm x 6 mm beech plywood boards. The material is very sturdy, it won't bend quickly.
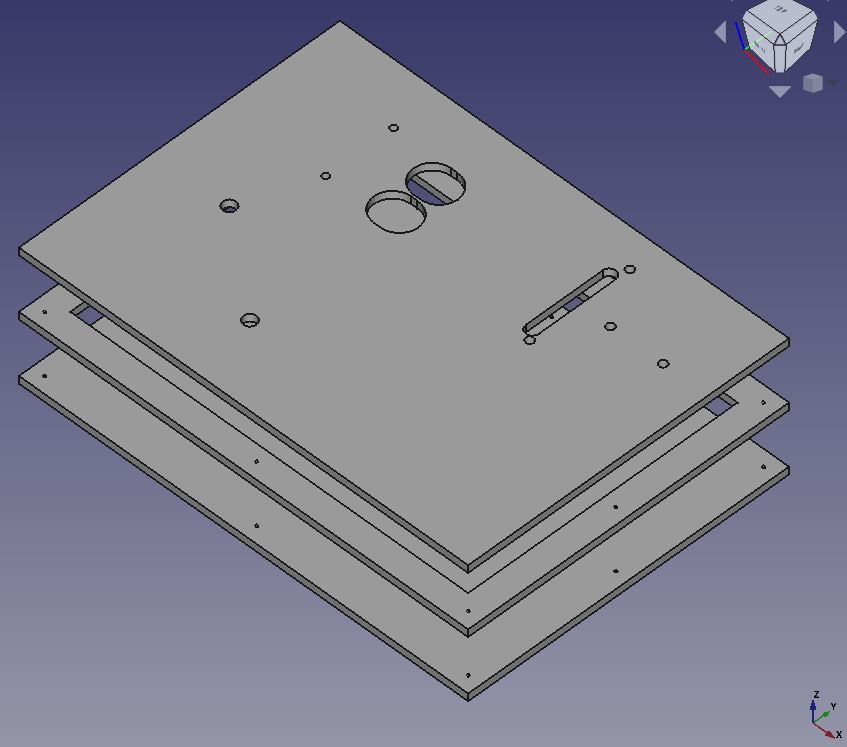
- The lower board is the simplest one. It only needs 8 holes for srews to get tied with the two upper boards
- The middle board has a large cut out which is 20mm smaller than it's size. This empty space will hide all the cables
- Keep a small board at the middle level. The two burners shouldn't sit lower than 6 mm. Make it large enough to fit underneath the two holes for the burner. You can glue it to be in the right position. You can leave it at the right place. The upper and the lower board will keep it in place through friction.
- The upper board is the most complex one. It'll have the holes to fix all the objects and it'll need holes for the cables to go through.
- All components will leave 20mm distance from any boarder. The cover will sit on the upper board. The cover will consist of 10mm walls.
- The cover:
- I used birch plywood boards with the sizes
- 2 boards 350mm x 110mm x 10mm
- 2 boards 330mm x 110mm x 10mm
- The 10mm birch plywood panels allow to use 6mm wooden dowels to connect all 4 boards
- The top cover is the 4th beech plywood board. I nailed it the the side boards
- The cover board isn't shown at the image below
- I used birch plywood boards with the sizes
WIP: The position of the holes will get published at a later point of time. More and more holes are required for the objects which will be documented in future.
- Printer-friendly version
- Log in to post comments
- 25 views